Connect VS Code to OpenLLM Buddy
This guide shows how to use the Cline extension in VS Code with your OpenAI-compatible OpenLLM Buddy endpoint and model qwen3.6:27b.
Integration guide
What is VS Code + Cline?
VS Code is Microsoft's code editor. To connect OpenLLM Buddy inside it, install the Cline extension — an open-source coding agent that adds a sidebar for plan-and-act workflows, terminal commands, and multi-file edits. Point Cline at your OpenAI-compatible Base URL, API key, and model ID.
- Install Cline from the VS Code Marketplace
- Choose Bring my own API key in the extension onboarding
- Set API Provider to OpenAI Compatible with your OpenLLM Buddy endpoint
Extension: Cline on VS Code Marketplace. Provider docs: OpenAI Compatible. Need an API key? Create one in the console.
Install Cline in VS Code
Open VS Code, then install the Cline extension from the Marketplace. Cline is the coding agent that connects to your OpenLLM Buddy endpoint from inside VS Code.
- Open VS Code (or install it from code.visualstudio.com).
- Go to the Extensions view (Cmd+Shift+X on Mac, Ctrl+Shift+X on Windows/Linux).
- Search for Cline and install it, or open the VS Code Marketplace listing and click Install.
- Open the Cline sidebar in VS Code when the install finishes.
Cline also supports Cursor, JetBrains, and Windsurf via cline.bot/ide. This guide focuses on VS Code.
Choose “Bring my own API key”
When you open the Cline sidebar in VS Code for the first time, it asks how you want to use it. Select Bring my own API key so you can point Cline at your OpenLLM Buddy endpoint.
- Select Bring my own API key — “Use Cline with your provider of choice.”
- Click Continue to move on to provider setup.
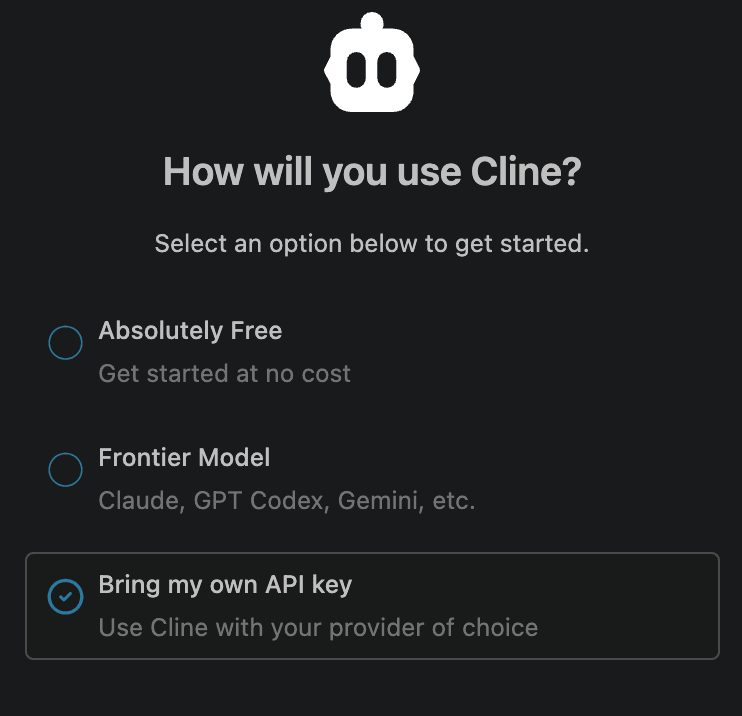
Skip Absolutely Free and Frontier Model for this setup — those routes use Cline-hosted models, not your OpenLLM Buddy API key.
Select OpenAI Compatible
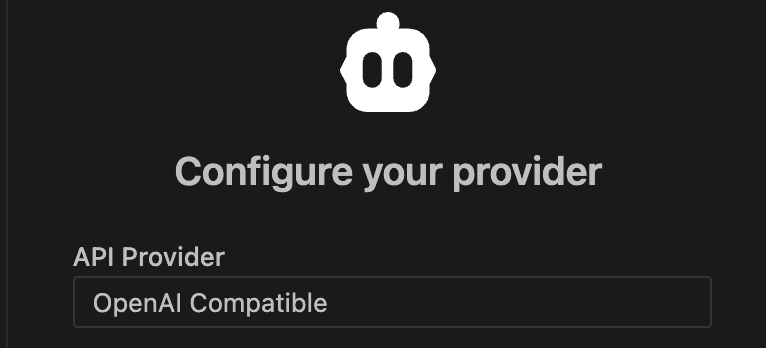
After you click Continue, the Cline extension shows Configure your provider. Under API Provider, open the dropdown and choose OpenAI Compatible.
Enter Base URL, API key, and Model ID
With OpenAI Compatible selected in the Cline extension, fill in the three fields it shows. Use your OpenLLM Buddy proxy base URL (ending in /v1), your API key, and your preferred model in Model ID.
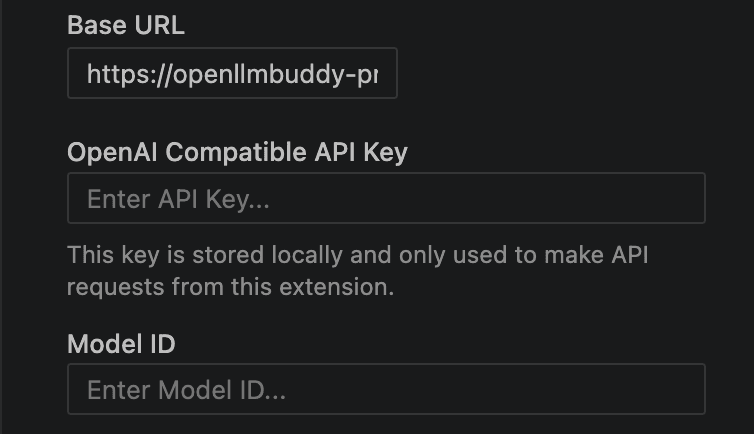
- Base URL — paste your OpenLLM Buddy API root, e.g. https://openllmbuddy-proxy.botbuddytech.workers.dev/v1. Do not use a /chat/completions path or your dashboard URL.
- OpenAI Compatible API Key — paste an OpenLLM Buddy API key. Create one in the console. Cline stores it locally and only uses it for API requests from the extension.
- Model ID — enter your preferred OpenLLM Buddy model handle (for example qwen3.6:27b on this guide). Pick any model your API key can access — see available models for handles like gemma4:26b or qwen3.6:27b.
- Save or continue when Cline prompts you.

- Base URLhttps://openllmbuddy-proxy.botbuddytech.workers.dev/v1
- API KeyYOUR_API_KEY
- Model ID (example)qwen3.6:27b
CLI users can also run cline auth -p openai-compatible -k YOUR_API_KEY -m qwen3.6:27b -b https://openllmbuddy-proxy.botbuddytech.workers.dev/v1. See the Cline OpenAI Compatible docs for troubleshooting.
That's it
Save your settings when Clineprompts you. Once Base URL, API key, and Model ID are in place, you're connected — open the Cline sidebar in VS Code and start a task or chat message.
Cline will send requests to your OpenLLM Buddy endpoint using the model you chose. If something fails, double-check the Base URL ends in /v1, your API key is valid, and the Model ID matches a model your key can access.